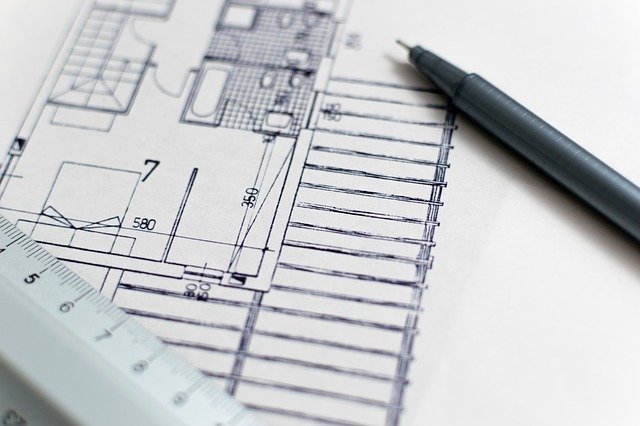
To create your ownMap, you must first realize that very little is needed.
Indeed, you will only need to have base maps of the buildings of your company. Does this step already seem complicated to you? No way ! What company doesn’t have maps of buildings posted in different locations. You may not have noticed them but they are there. Those are the escape plans!
From these plans, for example, your base map is ready!
This first step was simple. So wait until you see what happens next since the easiest is yet to come!
Step 1: sign in to ownMap
This step is as simple as for the creation of any account on an online shopping site for example. In other words, a formality.
Step 2: Import your basemaps
Once your account is created, you have access to your administrator area. It is inside this that you can simply import your different cards, name them…
Step 3: Place your points on the map
This is when all the interest of ownMap takes shape since you will be able to place on your map all the points you want to appear. It can of course be the names or numbers of offices, departments. But you can also include reception, toilets, snack points, stairs and elevators…
Step 4: Publish and share
Once your map is ready, all you have to do is publish it with a single click.
Thus, you will have a Qr code that you can display at the entrance of your building for example. Your visitors will only have the scanner with their smartphone for easy orientation.

